

Are you trying to add Apple Music to video to make your vlogs more engaging, but find that the song can‘t be imported into your video editing app? The root cause is simple: Apple Music songs are protected by DRM, so you cannot use them outside the app.
Don't worry! There is still a simple workaround! In this guide, we will show you how to add songs from Apple Music to videos on iPhone, Android, Mac, and PC. Whether you are using CapCut, iMovie, or Premiere Pro, you will find a way out. Let's start exploring!
Tool used in this guide: TuneFab streaming music converter
How to Get Protection-Free Apple Music for Video Editing
To successfully add Apple Music to videos, the first and most crucial step is removing protection. Here, TuneFab Apple Music Converter is highly recommended. With it, you can easily unlock restrictions and convert Apple Music songs to MP3 and common formats like M4A, FLAC, WAV, ALAC, and AIFF.
More importantly, it supports lossless conversion, preserving the original audio quality. Once converted, you can easily use Apple Music as background music for vlogs, short videos, or social media content without worrying about any issues.
Key Features of TuneFab Apple Music Converter
- Convert songs, playlists, and albums from Apple Music to common files.
- Support customizable parameters for optimal output quality.
- One click to download an entire Apple Music playlist at 35X faster speed.
- Retain the original ID3 tags and metadata to keep all songs organized.
- Integrate the official Apple Music web player, ensuring a seamless experience.
Moreover, the interface of TuneFab Apple Music Converter is super simple to use. Follow the steps below to convert Apple Music songs for video editing:
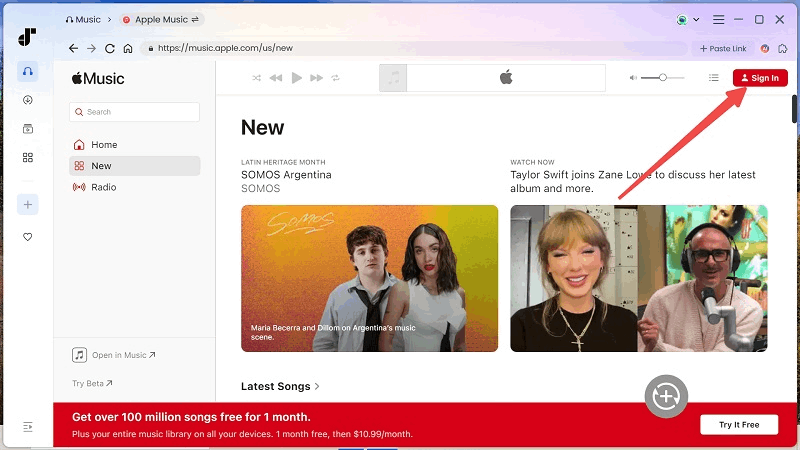
Step 1. Log in to Your Apple Music Account
Open the latest TuneFab Apple Music Converter on your Windows or Mac. Then, access the built-in Apple Music web player and log in using your Apple ID.
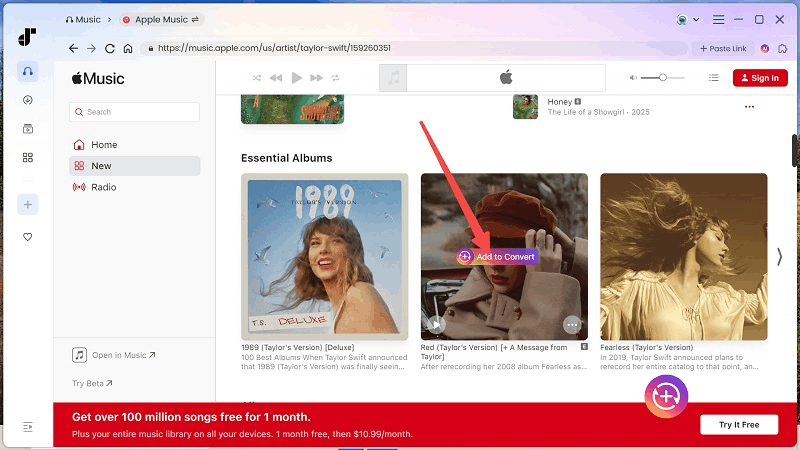
Step 2. Add Apple Music Songs to the Conversion List
Locate the song, playlist, or album you want to add from Apple Music to your video. Click on the "Add to Convert" button or "+" icon to move on. TuneFab will automatically parse the music file.
Step 3. Customize Output Settings
When the pop-up window shows you, hit the dropdown to choose a preferred output format (MP3 by default). Also, for crispy audio, you can also change the bitrate and sample rate based on your needs.

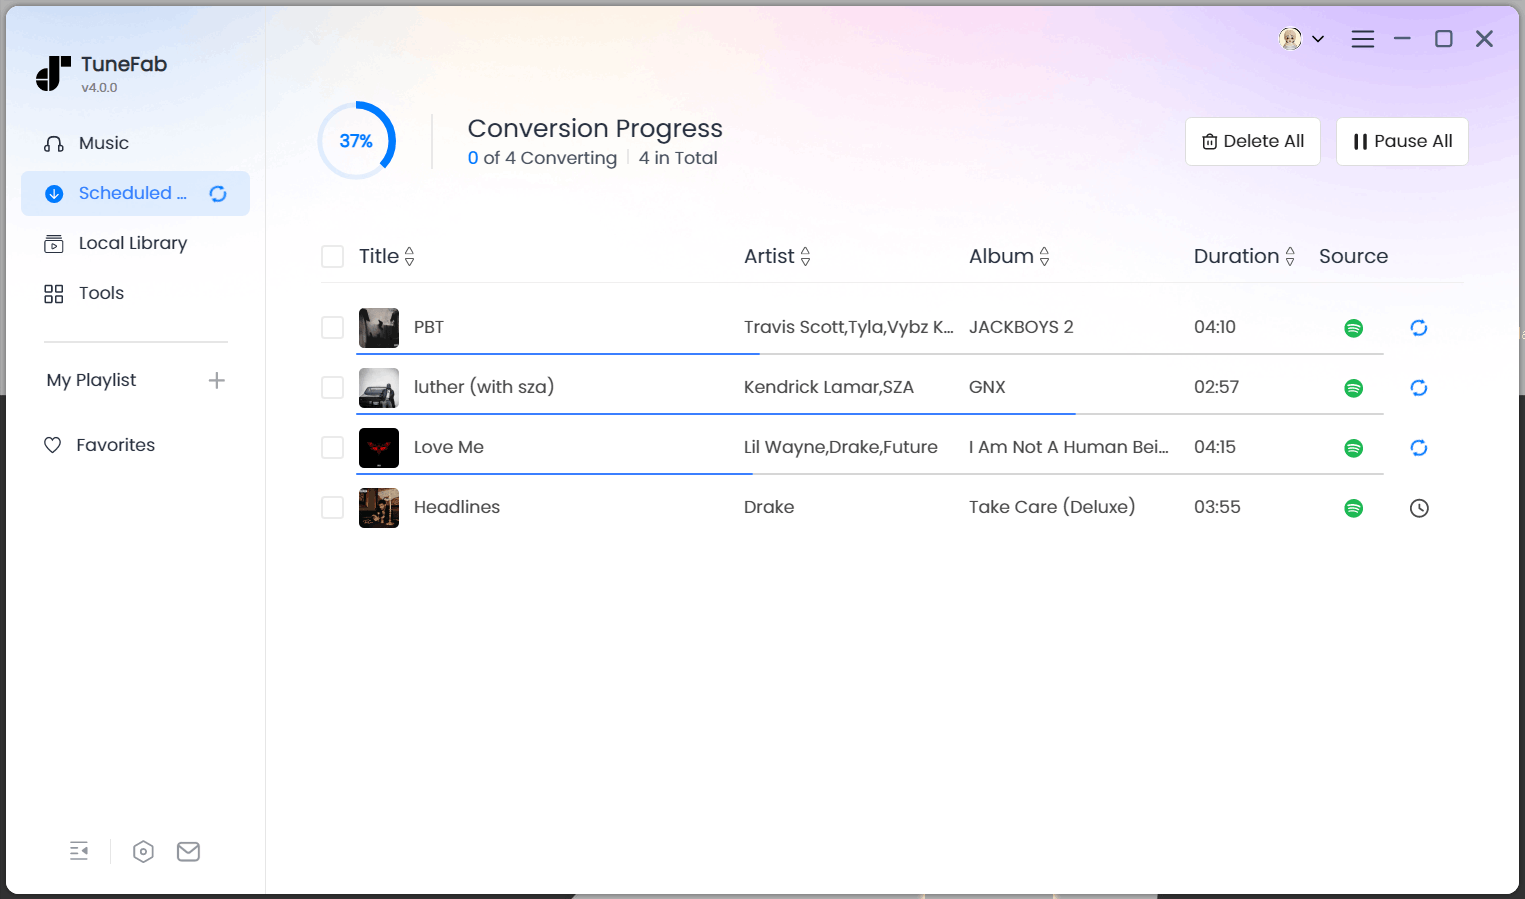
Step 4. Download Apple Music Songs
Select the song title from the list and click "Convert Now". TuneFab will handle the rest. After that, head to "Local Library" and click the folder icon to get restriction-free Apple Music songs that can be freely added to video editors like iMovie, Premiere Pro, or mobile editing apps.
Pro Tips.
All converted Apple Music songs are protection-free, so you can transfer and use them freely across different software, devices, and media players. Learn more:
How to Add Apple Music Songs to Video on iPhone/Android
Now, you are ready to add Apple Music to video on iPhone or Android. Whether you are editing short clips for TikTok, creating Instagram Reels, or making daily vlogs, using Apple Music as background music is now totally possible with a compatible video app. Feel free to follow the steps below to learn how to add Apple Music to a video on iPhone, iPad, and Android devices.
Add Apple Music to Video with CapCut (iPhone, Android)
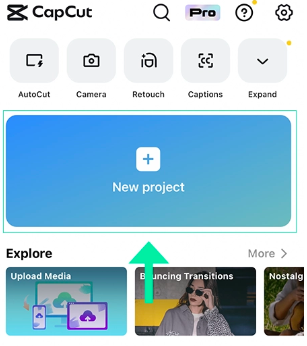
CapCut, known for its ease of use, is the go-to editor for TikTok/Instagram Reels creators. Here is how it works.
Step 1. Open CapCut and tap New project to start a new editing project. Tap the Add Audio or Audio from the bottom menu in the app and then the Sounds tab.
Step 2. Next, locate and tap the folder icon which will open your sound page. Next, tap From Files and then Import from files to locate local or iCloud converted files from TuneFab Apple Music Converter.
Step 3. Once imported, tap the blue + sign to add the music file to your timeline for editing your video.
Add Apple Music to Video with Clips (iPhone, iPad)
For iOS users looking for a quick and fun iPhone video editor, Apple's Clips app is an ideal choice. Here is how to add music to Clips from Apple Music once the restriction is removed.
Step 1. Tap the Library icon in the upper left corner to start a new project, or select a video from the Gallery to import your footage.
Step 2. Tap the musical note symbol "♪" on the top right of the screen within the Clips app.
Step 3. Select My Music to locate the converted files from TuneFab Apple Music Converter in your device storage.
Step 4. Choose the song you want and add it to your project. Once added, tap the Go Back arrow in the top left corner and start editing your video with Apple Music songs.
How to Import Apple Music to Video on Mac/Windows
Once you have used TuneFab to convert Apple Music to MP3 or other restriction-free formats, the restriction is gone! This part will explain how to put songs from Apple Music into a video on Windows and Mac with popular editing software.
Add Apple Music to Video with Premiere Pro (Mac/Windows)
If you are using Adobe Premiere Pro for professional video editing, here are the steps to add Apple Music to Premiere Pro on PC and Mac.
Step 1. Launch Premiere Pro to create a new project or open an existing project.
Step 2. Go to File > Import or simply drag the Apple Music files from your local folder into the Project Panel.
Step 3. Drag the audio files from the Project panel directly onto the timeline to start editing.

Add Apple Music to Video with iMovie (Mac)
For Mac users, iMovie offers a beginner-friendly way to add music from Apple Music to a video after conversion. Here is how.
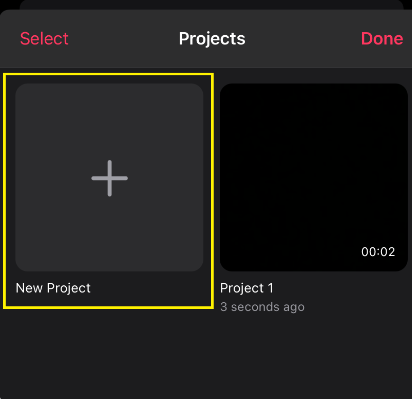
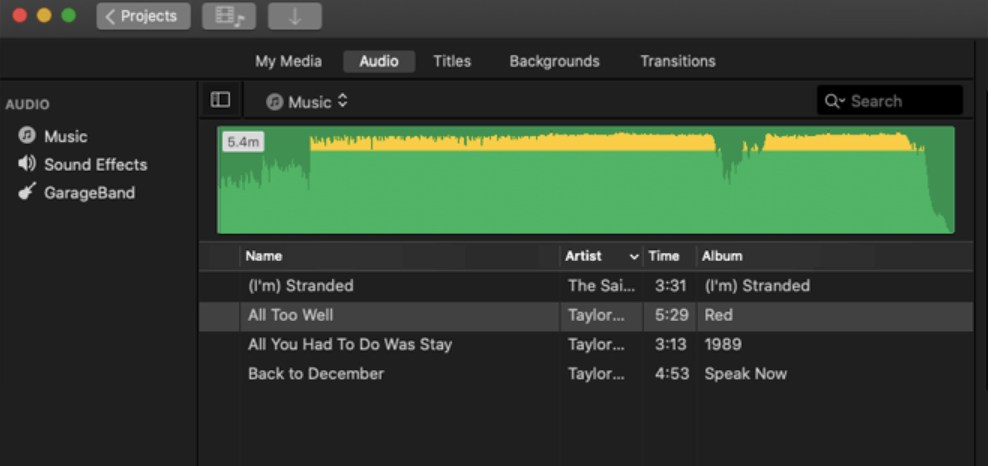
Step 1. Open iMovie and create a new project. Navigate to the Audio at the top of the window and then click Music
Step 2. Browse the selections and locate your converted files, which you chose in TuneFab Apple Music Converter as the export location.
Step 3. Add the file and drag it from the media browser to the timeline of your project to start editing.
Further Reading: How to Add Music to iMovie from Apple Music on iPhone/Mac
Add Apple Music to Video with Final Cut Pro (Mac)
Final Cut Pro is also popular among professional creators. Below is how to use Apple Music in Final Cut Pro for video editing.
Step 1. Launch Final Cut Pro on Mac and open a new or existing project.
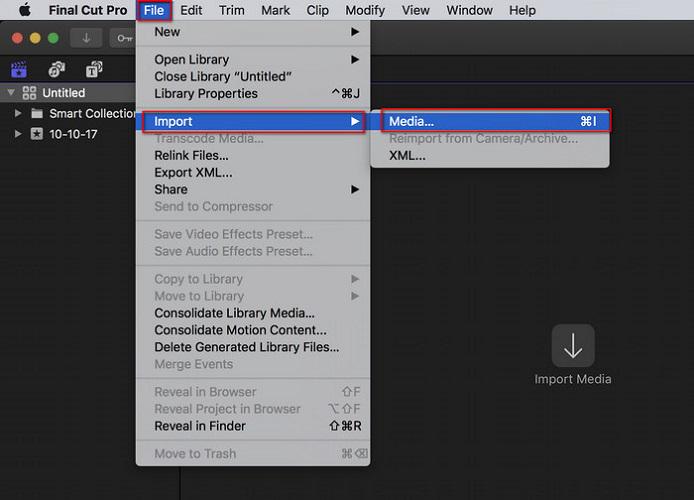
Step 2. Click File > Import > Media, then select the converted Apple Music files stored on your Mac.
Step 3. Drag the imported audio files into the timeline to sync with your video, and edit as needed.
Further Reading: How to Use Apple Music in Final Cut Pro
With the best Apple Music converter like TuneFab, it becomes possible to import Apple Music to a video. Just a few clicks and you are all set to edit and share the best possible content with high-quality audio!
FAQs About Using Apple Music in Videos
Can I use Apple Music in YouTube videos legally?
The short answer is: No. Apple Music songs are protected by copyright. Even if you simply upload a video containing a converted Apple Music song to YouTube for personal sharing (non-commercial use), the YouTube Content ID system is still very likely to identify and flag it. This can result in your video being muted, blocked in certain regions, or even taken down completely.
Therefore, we recommend adding Apple Music to videos only for personal collections, home videos, or non-public sharing, rather than publishing them on YouTube or other public platforms.
What is the best format for Apple Music to Video?
When you add Apple Music to video projects, choosing the right audio format is crucial. The most commonly used formats include MP3, WAV, and M4A.
- MP3: The most widely supported format. It works with almost all video editing software, has a smaller file size.
- WAV: A lossless format that delivers the highest sound quality. It’s suitable for professional video projects where audio fidelity matters, but the file size is much larger.
- M4A (Protection-free): Offers a great balance between quality and size. While it works well within the Apple ecosystem, not all third-party editors support it perfectly.
How to add iTunes music to Premiere Pro?
To add iTunes music to Premiere Pro, you must first ensure the songs are protection-free. Generally, only songs purchased from the iTunes Store after 2009 are unprotected AAC files (.m4a) that can be imported directly. You can follow the steps in Part 2 and Part 3 of this guide to add iTunes music to a video with ease.
If your songs are from the Apple Music subscription service (M4P format) or older iTunes purchases, Premiere Pro will not recognize them. In this case, it is recommended to use TuneFab Apple Music Converter to convert these tracks into a compatible audio format first, including MP3, WAV, AAC, AIFF, M4A, and BWF.
Conclusion
In short, once you bypass the protection, adding Apple Music to videos is no longer a challenge. With TuneFab Apple Music Converter, you can easily unlock restrictions and convert Apple Music songs to MP3 and other widely supported formats in one go. This means you can seamlessly import songs from Apple Music to your video on iPhone, Android, Mac, or PC. Download and try it now to take your video to the next level.
