

"I just subscribe to Apple Music. It's a really wonderful music streaming service. I find many great playlists on Apple Music. But here comes my question: how to share playlists with my friends on Apple Music?"
An Apple Music subscriber posted his or her question on the Apple Community and asked for help. Have you ever met that problem? How do you share playlist on Apple Music? If you don't know, then don't miss this post as you can find two efficient methods of sharing Apple Music playlist with friends here.
Part 1. The Easiest Method: Share Playlist on Apple Music
First of all, let's see the easiest method of sharing Apple Music playlist with others. But before that, you need to subscribe to Apple Music. Then follow the below steps.
Step 1: Launch Apple Music on your devices.
Step 2: Then go to "Library" and "Playlists". You will see playlists that you've created by yourselves or you've added to your library.
Step 3: Next select the playlist that you intend to share with your friends.
Step 4: At last click on the circular-shape button with three dots and then "Share Playlist" button. After that, you can choose Message, Mail, Twitter, Facebook, using AirDrop and more options to share Apple Music playlists with your friends.
In addition to that, you can also make your playlist public, so that people can find it by using the search function. To do that, you need to go to "Playlist" > "Edit" and then turn on "Show on My Profile and in Search". If you want to save an Apple Music playlist that your friends send to you, you can click on "Add" button to add the playlist to your library.
Part 2. The Efficient Method: Convert Apple Music Playlists and Send to Others
Actually, except sharing playlist on Apple Music, you can also transfer Apple Music playlists to other devices for sharing. But songs from Apple Music are protected with DRM restriction, that means you need to remove DRM and convert Apple Music to MP3 or other common formats. To do that, TuneFab Apple Music Converter is an essential tool. Because TuneFab Apple Music Converter is designed to download Apple Music to MP3 at 16X faster speed without any quality loss so that you can get free Apple Music forever and enjoy them on multiple devices.
To convert Apple Music playlists to MP3 with TuneFab Apple Music Converter, follow the detailed guide as below.
Step 1. Download and Registering TuneFab Apple Music Converter
First of all, click on the download button below to download and install TuneFab Apple Music Converter on your computer.
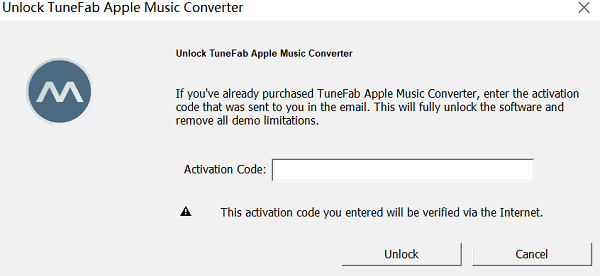
After that, you are supposed to register the program before getting started on removing DRM from Apple Music because the free unregistered version can only allow you to save the first 3 minutes of each song. Then how to get the registration version? Just pay for the program to get the aviation code, then enter it and click on "Unlock" button on the pop-up window. After that, go on to the next step.
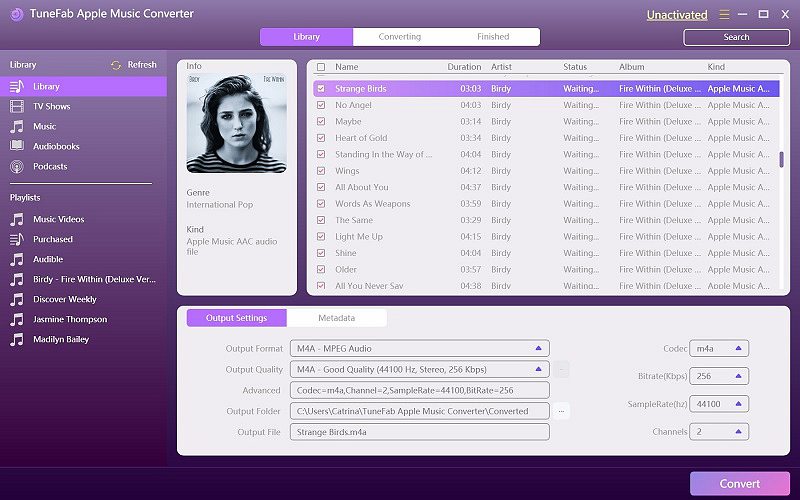
Step 2. Choose the Apple Music Playlist
Select the playlist category that you want to convert from the list on the left side of main interface, then you can find all songs from the selected playlist are shown on the upper of the interface. After that, select the songs by ticking the boxes in front of the songs.
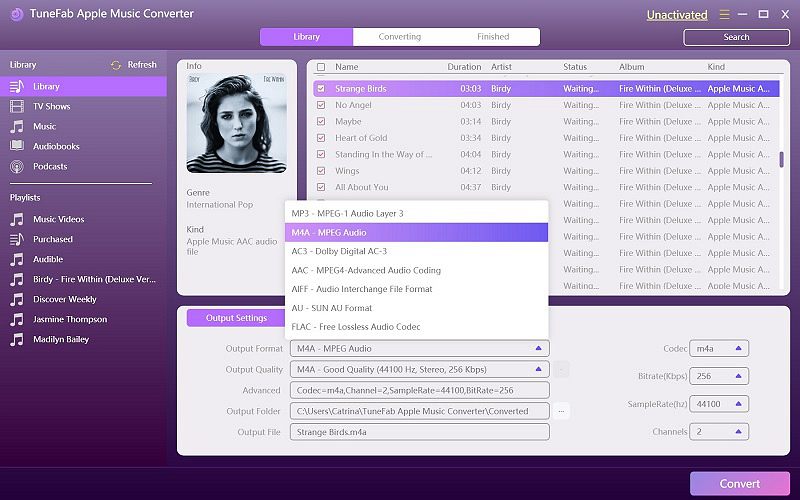
Step 3. Select the Output Format
As TuneFab Apple Music Converter enables us to convert Apple Music to MP3, M4A, AC3, AIFF, AU, FLAC, M4R, and MKA, so the next step is to select the output format according to your needs. To do that, you can change the output format on the "Output Settings" section. Be aware that the other profile settings will be changed accordingly.
Except that, you can also customize the output folder and parameters like codec, bit rate, sample rate, channel and so on. The converted files will be saved on the output folder, so you had better keep yourself aware of where is the output folder. If you forget, then find its address on the "Output Folder" option.
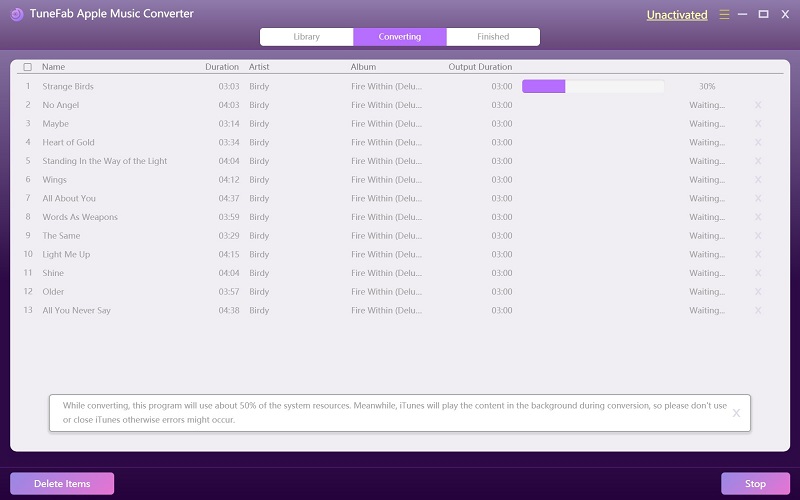
Step 4. Start the Conversion
Now you can let the program start the conversion, but before that, it would be bettechange the conversion speed. Just go to "Options" and move the button on the top of the "Preference" screen to change the conversion speed. After that, click on the "Convert" button on the menu bar to start the conversion. It will take a little time to convert Apple Music playlists to MP3.
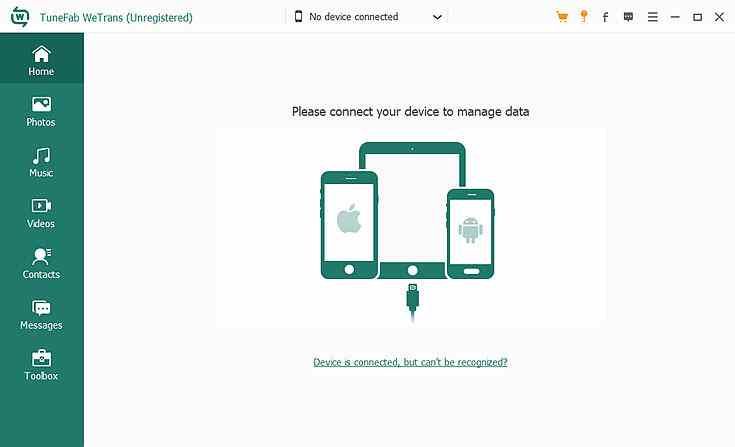
Step 5. Transfer Playlists to iOS Devices with TuneFab WeTrans
After that, all converted Apple Music playlists are saved on the output folder, so you can transfer the playlists to your iOS devices and share them with others. Referring to transferring data to from PC to iOS devices, I recommend that you use another TuneFab product, TuneFab WeTrans which is designed to transfer data to/from iOS devices. What you need do is to connect iOS devices, choose the songs in WeTrans screen and then click on the phone-shaped button to start to transfer. Next you can easily share playlist with others on your iOS devices at any time.
Both these two ways are available for sharing playlists on Apple Music, you can use one of them as you like. But I have to say though the second method seems a little more complex than the first method, it is efficient, moreover, TuneFab Apple Music Converter not only can convert Apple Music to MP3, but also is an innovative Audiobooks converter, while TuneFab WeTrans is an useful tool for syncing music, videos, photos, contacts and more between iOS device and PC. Therefore, just try these two powerful software.
