


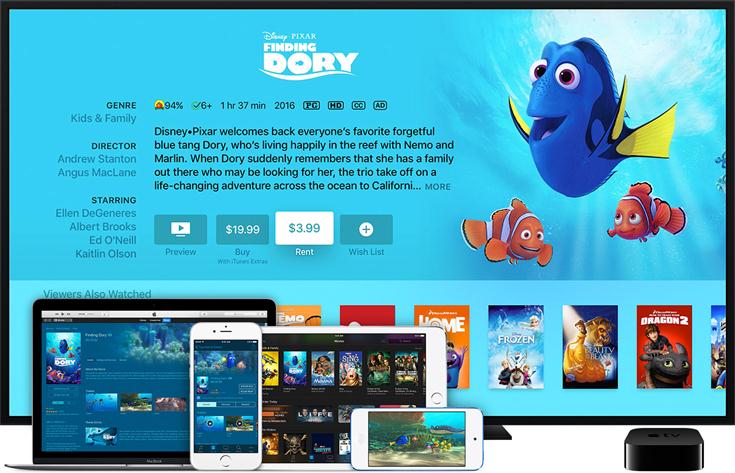
Instead of purchasing a movie from iTunes Store, iTunes also provides rental videos (such as movies). Comparing to purchased ones, iTunes rental videos have a time limitation, which requires users to start watching with 30 days when you pay for renting the movies. What's more, once you start watching the content, you only have 48 hrs to finish watching it. After the rental period, the videos would disappear from your iTunes Library.
Some may want to keep the iTunes rental videos forever on their iPhone X as a collection. Can we do that? Certainly, a YES would be given. In this tutorial, you could go through a super useful way to keep them on your new iPhone X forever!
Related Article: How to Rent Movies on iTunes? [Quick Start Tutorial]
The Restriction in iTunes Rentals
The main restriction of iTunes rentals, which greatly prevents users from keeping them refers to the FairPlay DRM (Digital Rights Management) protection. Actually, not only iTunes rental videos, including iTunes purchased video, audiobooks are also protected by Apple's FairPlay DRM. This technology means to protect the digital contents of Apple from being copied and transferred. As a result, we could not easily keep the iTunes rental videos as we want on our own iPhone X.
Remove DRM from iTunes Rental Videos
If you really want to keep your iTunes rental videos on your iPhone X, first, you have to remove DRM from these videos. TuneFab M4V Converter would do you a great favor in removing DRM from iTunes rental videos and help you keep the iTunes rentals more than 48 hrs even you have started watching them.
Advantages of TuneFab M4V Converter
*Remove DRM from iTunes purchased/rental videos
*Convert iTunes purchased/rental videos into MP4 and other formats easily
*Up to 30X faster conversion speed
*Is Available on both Windows and Mac
Let's see the steps of how to use TuneFab M4V Converter.
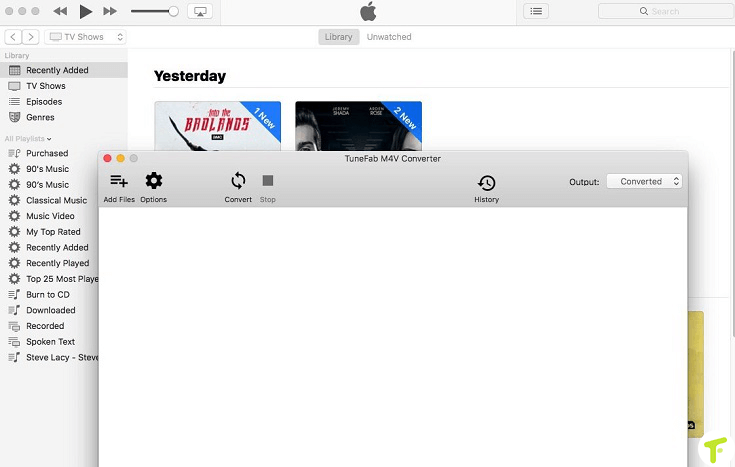
Step 1. Launch TuneFab M4V Converter
Click on the download button above to launch TuneFab M4V Converter. When the installation finished, click on it to run. TuneFab M4V Converter would connect to your iTunes automatically and detect the iTunes Library in your iTunes. The main interface can be seen below.
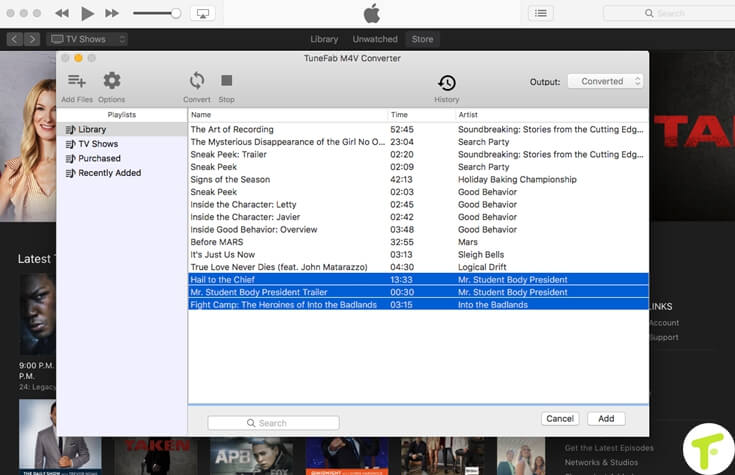
Step 2. Add iTunes Rental Videos
Click on the "Add Files" button in the upper-left corner to select the rental videos from the list. After selection, click on "Add" to add them to TuneFab M4V Converter.
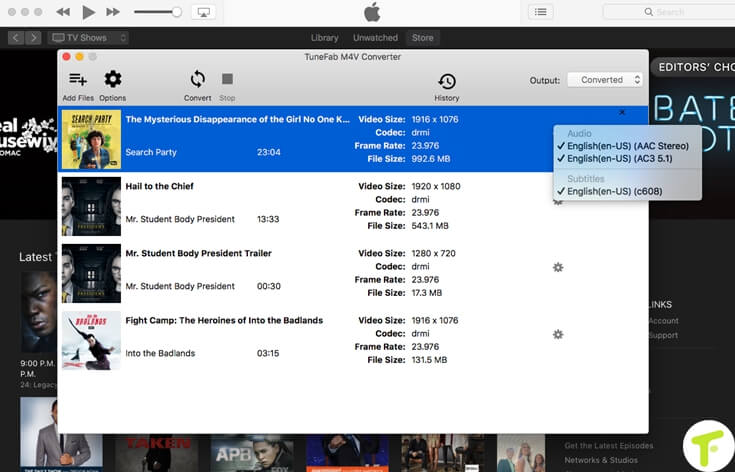
Step 3. Preserve Audio Tracks and Subtitles
Here you can choose a file and click on the "Gear" icon to select keeping the audio track or subtitle of the rental video. This step is optional. If you don't set anything, TuneFab M4V Converter would save the videos in MP4 format and save the audio tracks, subtitles by default.
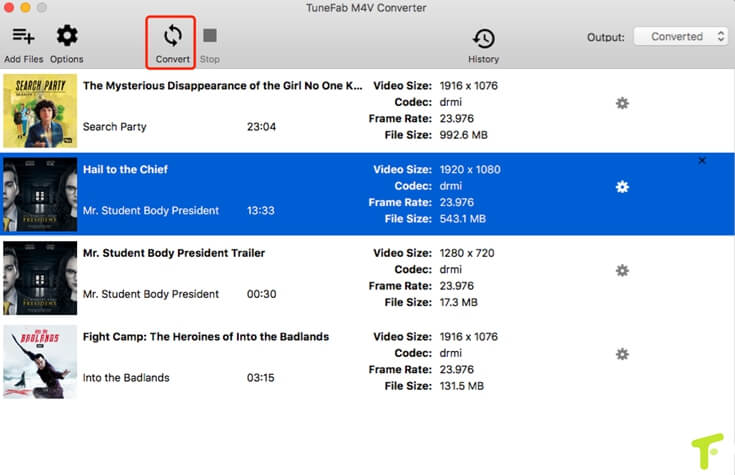
Step 4. Start Removing DRM from iTunes Rental Videos
Then you could start to remove DRM from iTunes Rental Videos. Click the "Convert" button, then you could simply wait for the conversion done!
The conversion would be finished within a few minutes. When you get the DRM-free iTunes rental movies, you could save them directly to your iPhone X by uploading them to iTunes Library, or you can by virtue of a powerful transfer tool – Fonepaw iOS Transfer. You just need a few clicks to transfer the videos to your phone from PC easily!
Guidance: User Guides of Ios Transfer