

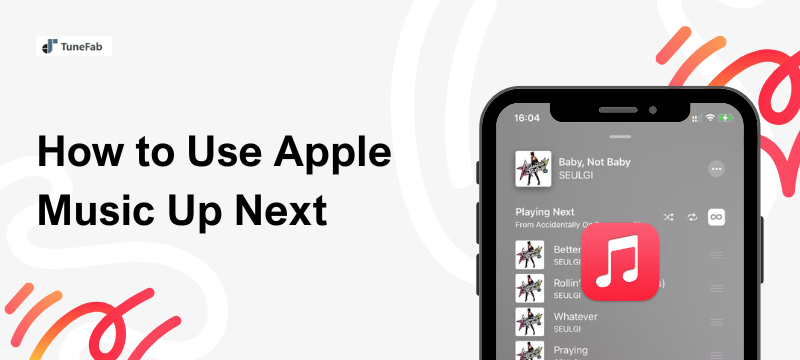
Ever find yourself in this situation while listening to Apple Music? You want to hear the next track, but don't know the quick way to switch. Or perhaps you want to add a few favorite songs temporarily without stopping the current music. Well, that is exactly when Apple Music Up Next comes in handy.
Apple Music has developed this feature to help promote some up-and-coming artists, enabling more global audiences to access their music. For Apple Music users, this can be a great function to discover more new songs that are your cup of tea.
Want to know how to use Up Next on Apple Music to make your listening better? Then, follow us! Our comprehensive guide below will cover everything you need to know.
Related Reading:
How to Turn Apple Music Shuffle On/Off on Any Device
How to Delete Apple Music Library on Any Device (2025 Guide)
What Is Apple Music Up Next?
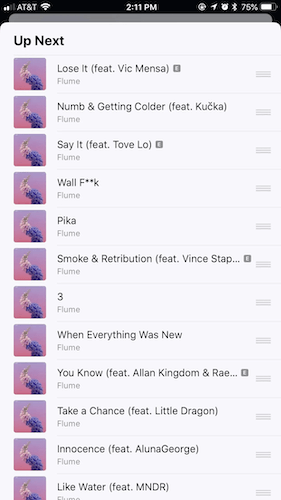
Apple Music Up Next feature is a smart function designed to help you have easier control to see and play upcoming songs in your Apple Music playlists or queue. No matter you are going to play a curated playlist or your own mix, Up Next will help you reorder, add, or skip songs without hassle.
As the Apple Music Up Next feature works across all devices with the Apple Music app supported, so you can definitely have a flexible and enjoyable music streaming experience no matter you are using a mobile phone or a desktop. It is perfect for you to determine the playback based on your own streaming habits. For example, you can remove songs you don’t like at any time, or add tracks on the fly, making you just like a DJ!

Benefits of Apple Music Up Next
Apple Music Up Next can be more than a feature for enhancing your music streaming experience by letting you have more convenient control. Here are some core benefits that make this function a highlight of Apple Music to compete with other streaming services:
Easy Control of Your Music Queue
When the Up Next feature is available, it can be easy for you to check the songs coming up and freely rearrange them to play in order as you like. You don’t need to keep your eyes on your phone and skip through tracks that you don’t like in real time.
Discover New Music In A Go
Apple Music will suggest songs you might like based on your streaming habits. With Up Next, you can instantly preview them before adding to your playlists. With the help of Up Next, you can explore new tracks without losing your current listening flow more conveniently.
Enjoy Apple Music Streaming Across Devices
As the Up Next feature is available in the Apple Music app no matter on what devices you are using, it is possible for you to enjoy the same flexible streaming experience across devices as Apple Music has added support to most of them, allowing you to access your favorite lists and start streaming instantly without any interruption!
The Apple Music Up Next function actually helps you to have a smoother, smarter, and more enjoyable - perfect for both casual listeners and music lovers to go. In the following, keep reading and grasp how to use Apple Music Up Next in detail to have a better music streaming experience!
How to Find Up Next List in Apple Music
You may probably feel confused as you open Apple Music but find the Up Next list in nowhere! Don’t worry. To access the Apple Music Up Next playlist, you will need to search for it in the Browse module directly.
Here is the quickest way you can follow to find Up Next in Apple Music, only by several easy taps:
STEP 1. Open the Apple Music app and then directly go to the "Search" module.
STEP 2. In the search bar, type in "Up Next" and then go search for it.
STEP 3. Then Apple Music will bring up all Up Next lists for you, such as the playlists, radio stations, films, and radio episodes. You are able to access all content under the Apple Music Up Next banner.
How to Follow Apple Music Up Next Artists to Get the Latest Updates
For you to get instant updates from your favorite artists in time, you can definitely follow them through Up Next to make sure to access their latest released songs. To follow an artist and track the update, simply follow the steps below:
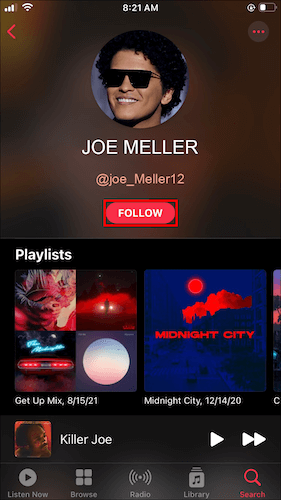
STEP 1. When you access the Up Next module in the Apple Music app, find the artists you like.
STEP 2. Open the information page of the artists’ profiles and then follow them directly.
STEP 3. Once you have followed them up, you will get notified when they have any updates, like releasing a song. Then you are able to access the content and enjoy the streaming immediately.
How to Keep Apple Music Up Next Playlists Permanently
When you discover any of your favorite songs or playlists in the Up Next section, you probably want to keep them for accessing at any time you want. However, as Apple Music will not be available if you cancel your membership, here is a bonus tip that can help you save Up Next playlists offline permanently without expiration even after the subscription ends.
TuneFab Apple Music Converter delivers a powerful DRM removal function to get rid of Apple Music songs, and then convert Apple Music to MP3, M4A, or other mainstream formats for streaming on all devices without limitations. The software will keep lossless quality, at the original 320Kbps audio quality to ensure you the best playback experience offline.
In addition, as TuneFab Apple Music Converter directly embeds the official Apple Music web player inside the software, you can directly access the Up Next module and choose any songs, lists, and artists to download offline for keeping permanently without worrying about expiration at all!
Highlights of TuneFab Apple Music Converter
- Embedded Apple Music web player to access all Up Next lists to download instantly;
- Keep Apple Lossless quality to download Apple Music Up Next songs at up to the best 320Kbps quality;
- Mainstream formats like MP4, M4A, etc. are available to select outputting the downloaded songs;
- Original ID3 metadata info will be fully preserved with the output Apple Music files;
- Accelerated speed at up to 35X or even faster to batch download Apple Music Up Next lists for you efficiently.
In the following, just install TuneFab Apple Music Converter and follow the brief guide to download Apple Music Up Next lists offline to keep them permanently for accessing at any time without limitations:
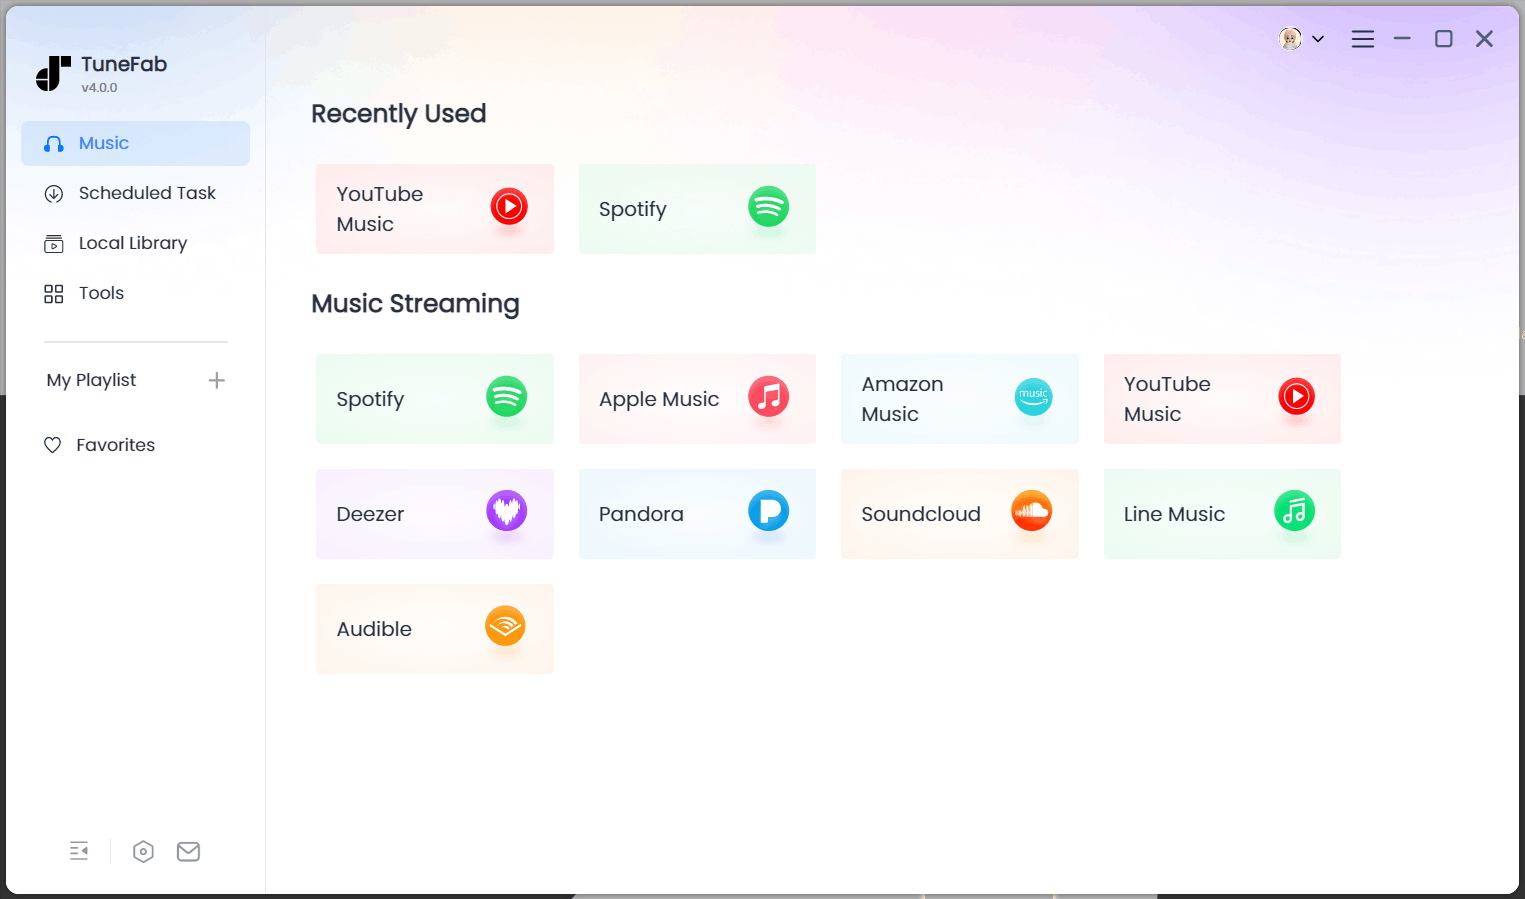
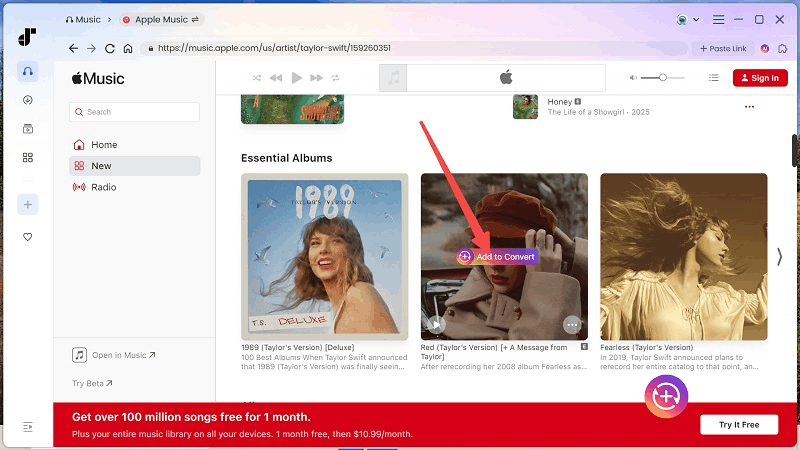
STEP 1. Launch TuneFab Apple Music Converter on desktop and select Apple Music from the main interface. You will be guided to log in to the built-in Apple Music web player via your Apple ID.
STEP 2. Once you access the web player, search for Up Next directly. Then you are able to browse the resources and add them to the conversion queue right away.
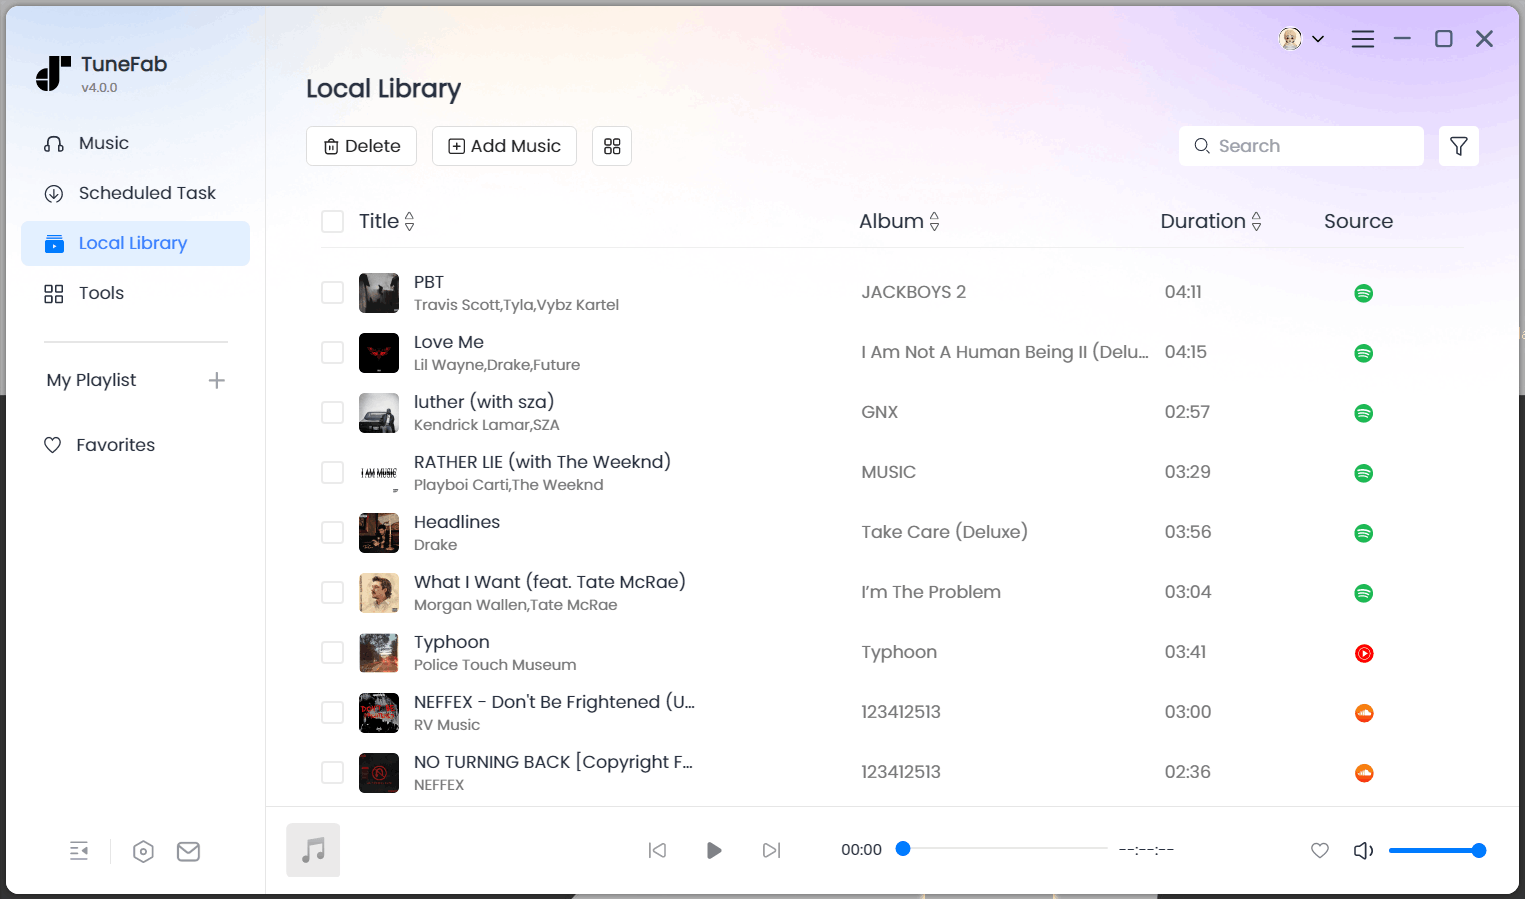
STEP 3. When the Apple Music songs are added, you are able to customize the format and also the quality to save the songs offline as you desire.

STEP 4. Finally, simply tap the "Convert All" button and TuneFab Apple Music Converter will process the music downloading for you. Once complete, you are able to enjoy the Apple Music Up Next songs streaming offline in a go even without the Apple Music membership subscription.
Conclusion
Apple Music Up Next has enabled a more flexible and enjoyable music streaming service, and also offers you a chance to discover more new songs that are of your favorite music types. Make use of this feature and have a more enjoyable music streaming experience from now on!
