

You may have unexpectedly found out that the audio from your recorded audio or video is suddenly somehow get distorted or missed. It is better if you own to get the features called sound check before recording, which is a newly added feature of TuneFab Screen Recorder for Windows. In this article, we are going to teach you how to use soundcheck first before recording audio from system sound and microphone.
1. Full tutorial: How to Use Sound Check on Windows?
Step 1. Run TuneFab Screen Recorder
If you haven't downloaded the TuneFab Screen Recorder, please kindly download it first. After that, run it on your pc. Then you will see the main interface of the TuneFab Screen Recorder.
Step 2. Open Sound Setting on the Preference Page
Click the "Three-line" [Menu] button and then enter "Preference Page".
Under the Preference page, you can see there are various tabs and they are Recording, Output, Sound, Mouse, Hotkeys and Others. What you need for the sound check progress are the Sound tab settings. Now hit the "Sound" tab to continue checking sound progress.
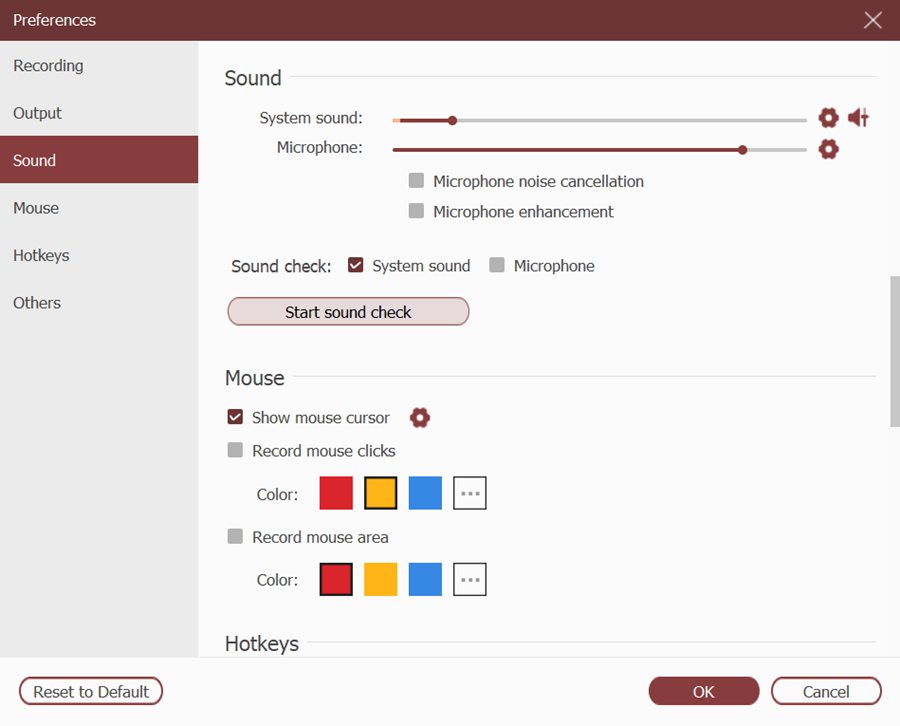
Step 3. Set Your Sound Settings
First, please kindly set the suitable sound volume of the System sound and Microphone. If you need to record the audio for the video tutorials, then you can just set the volume as the default one that will output a tutorial with high sound quality.
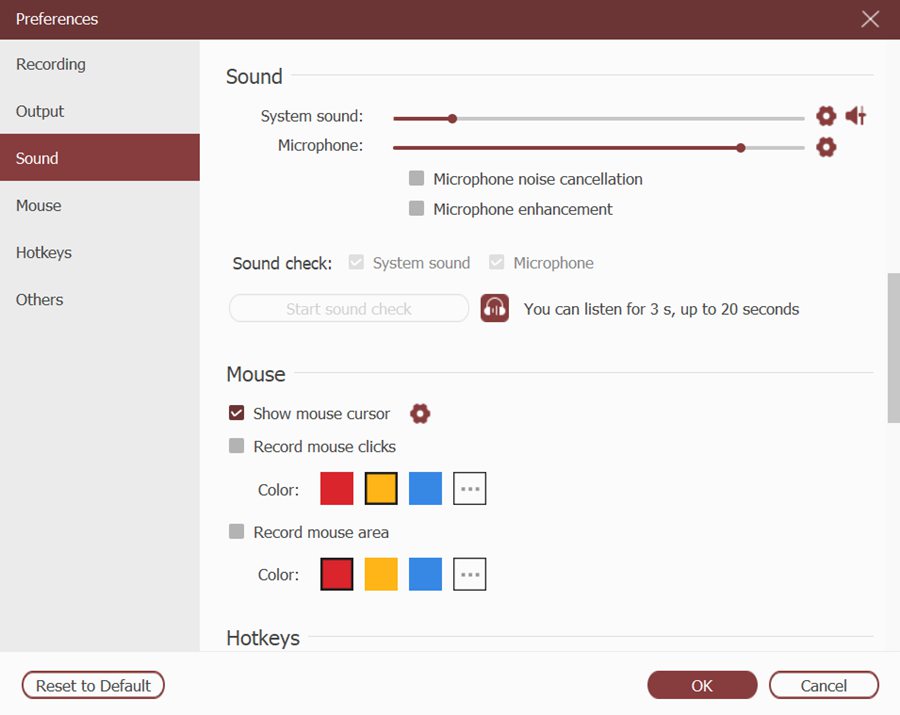
Secondly, start sound check by ticking the checkbox before the System sound and Microphone. And Hit the Start sound check to checking the sound. The whole progress will record the sound from your system sound as well as the microphone for 20 seconds. Hit the Earphone-like button to listen to the playback of the recording for checking if the sound quality is meet your need.
If it suits your need, then hit the Ok to store all the sound settings.
Question: What is the Gear button do next to the sound conditioner on System sound and Microphone?
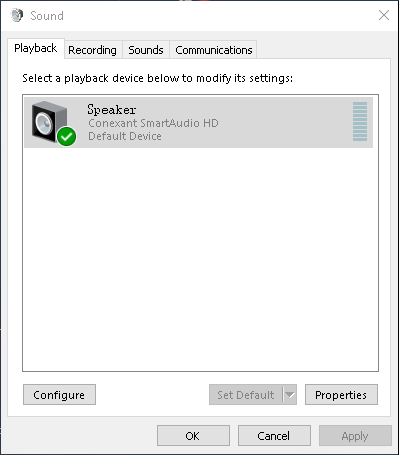
Answer: The Gear button is built-in with the features of opening the system sound settings so as to check out which devices are occupied and influenced the sound output. And the Speaker button next to the System Sound is developed for opening the Volume Mixer, which is intuitively found out which Apps are occupied the sound output. When you come across the recording error 301, it is helpful for diagnosing this problem.
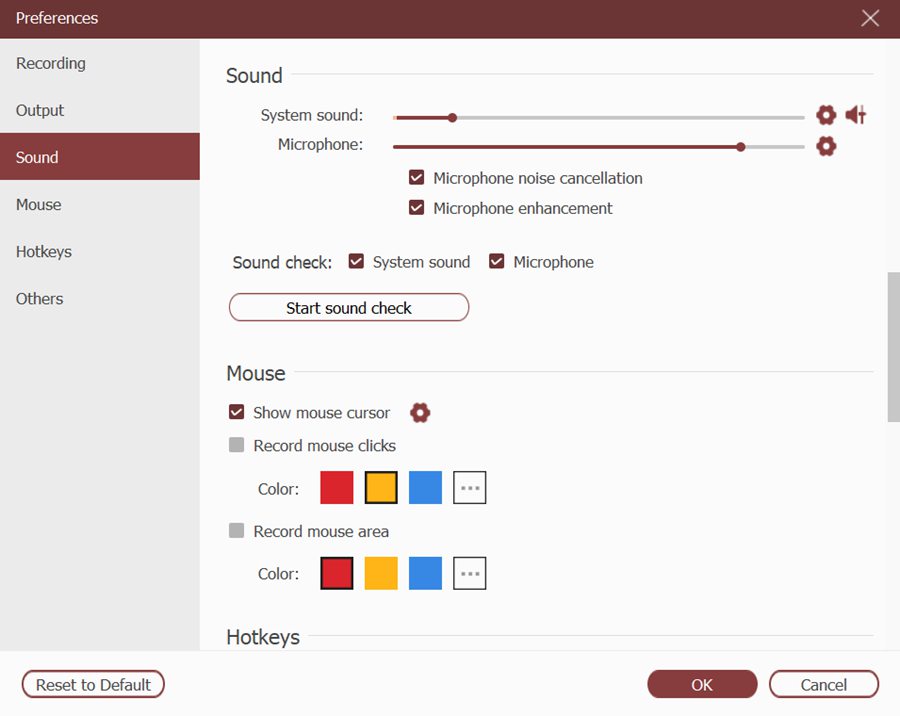
2. Advanced Tips: How to use Microphone Noise Cancellation or Microphone Enhancement?
How to check the sound is appropriate for your video tutorials? With the built-in features of TuneFab Screen Recorder Sound check, then it is easy to enhance the quality of the audio recording. TuneFab has a feature of Microphone Noise Cancellation and Microphone Enhancement. You can use these features to enhance the vocal.
Let's take the video tutorials as an example. You can use your iPhone and play a rhythmic song like HipHop or Metal, not far away from your computer, and then start recording your voice or recording a video tutorial. And then you can use the sound check features first to examine the recorded video or audio.
Okay, that is all for today's topic. Enjoy this sound check features before recording audio and get a lossless recording. See you next time.
