

As you build your Apple Music library, you might worry about losing your playlists if you switch devices or your subscription expires. Downloading Apple Music songs might seem like a solution, but these downloads are just cached and will become unavailable if you leave the Apple Music platform or Apple devices, as Apple Music is not a backup service.
So, how can you reasonably and effectively achieve this? This article will teach you three ways to back up your Apple Music songs and playlists on iPhone or computer. Keep reading to find out!
Related Reading:
Method 1. Backup Apple Music with iTunes/Finder
If your Windows PC or MacBook/iMac is running macOS Catalina or earlier, you can back up your Apple Music library on it by exporting your files or the entire library as an XML file with iTunes or Finder. This file includes metadata such as titles, artists, albums, and genres, which can be imported back into iTunes if you return to Apple Music.
It should be noted that you need to ensure the "Sync Library" feature is enabled on any device you use to sync with your imported library. Now, follow these simple steps to back up your Apple Music.
Step 1: Download and open the iTunes app on your PC or the Finder app on your Mac. Choose a file from the menu at the top of your screen.
Step 2: Select "Library" and then "Export Playlist." If exporting the entire library, all playlists will be included. In the next window, make sure to choose "XML" as the file format for "Save as type".
Step 3: To import your library or playlists, click "File" and then "Import Playlist". Your playlists will appear in the sidebar, and you can save them to an external drive or any location on your PC.

Method 2. Backup Apple Music Library with iCloud
Compared to iTunes/Finder, a better option is to use iCloud to back up your Apple Music library. First, ensure that "Sync Library" is enabled on all your devices with Apple Music or iTunes. This will automatically synchronize your library across devices. If your Apple Music subscription has expired, you'll need to sync manually.
Note: This method depends on your iCloud storage capacity and requires an active subscription. Follow these steps to enable Sync Library on multiple devices.
On Mac
Step 1: Open the Apple Music app on your Mac
Step 2: Select "Apple Menu" then "File > Library > Organize Library > Consolidate Files".
Step 3: Now click on "General" and make sure that the "Sync Library" button is turned on.

On Windows PC/Older macOS
Step 1: Open the iTunes app on your Windows PC or Mac.
Step 2: Select "Edit" then "Preferences" then go to "General" and make sure the "iCloud Music Library" checkbox is selected. Click on "OK" to save your settings as shown.

On iPhone/iPad
Step 1: Open the "Settings" application from your iPhone or iPad.
Step 2: Scroll down to "Music" and make sure the "Sync Library" setting is turned on as shown below.

Method 3. Backup Apple Music MP3 Without iCloud
As you can see, the methods above don't actually back up or save real Apple Music files. Instead, they store the songs in a way that can only be accessed on your Apple devices. If you want to securely store Apple Music on your computer, hard drive, or other locations, you'll need to use third-party tools.
TuneFab Apple Music Converter is the best Apple Music backup tool for you. It will help you keep all your Apple Music songs, playlists, and albums on your computer by downloading Apple Music to MP3, M4A, and other widely supported formats. After that, you can move those DRM-free Apple Music downloads to mobile phones, tablets, or other devices even after canceling your Apple subscription.
More Features of TuneFab Apple Music Converter:
- Compatible with both MacBook and Windows PC
- Embed with an Apple Music web player for download efficiency
- Convert Apple Music to MP3. M4A, WAV, and FLAC formats
- Support up to 20X batch-convert speed while keeping the original quality
- Keep metadata information and original ID3 tags for all Apple Music downloads
Now follow these simple steps to back up your Apple Music songs by downloading them as local files using TuneFab Apple Music Converter.
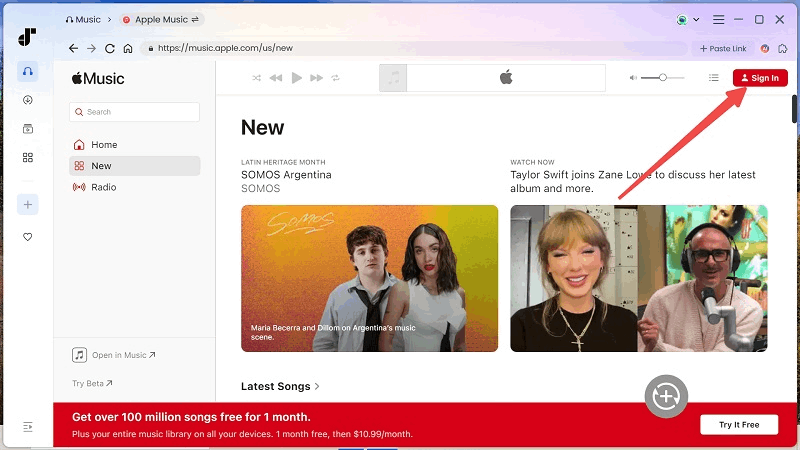
Step 1: Download TuneFab Apple Music Converter on your computer and launch it so that you can log in to your Apple Music account.
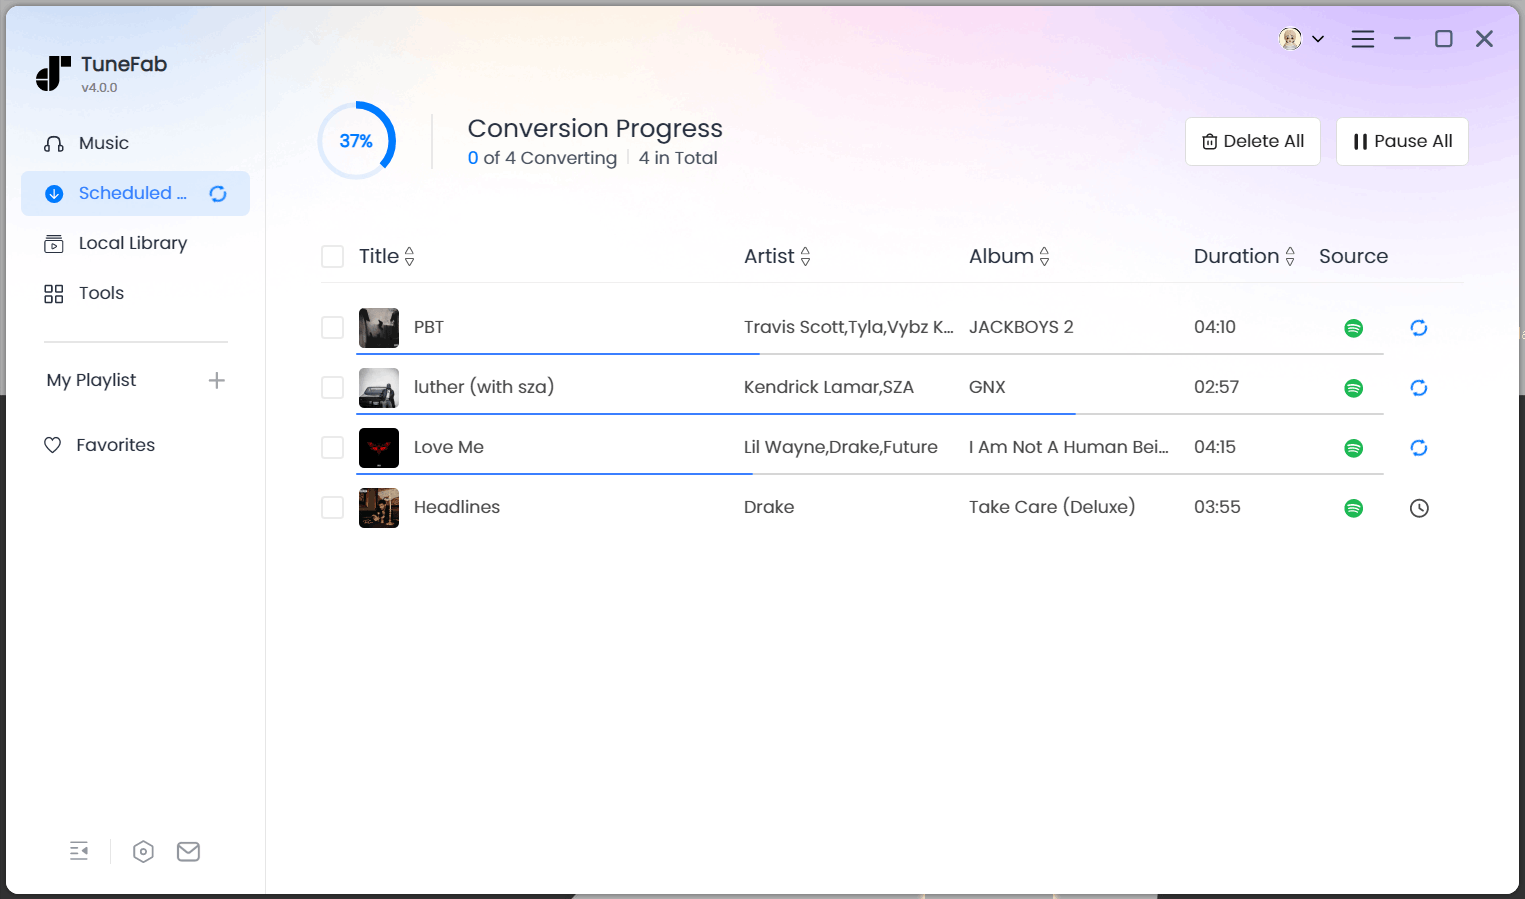
Step 2: Directly search for Apple Music songs, playlists, or albums you like, and drag them to the conversion bar on the right to add them to the conversion list.

Step 3: Select the Apple Music output settings, including output formats, quality, location, etc. under "Settings" or the "Converting" tab.

Step 4: Click on "Convert All" to start the conversion. Once finished, you can view all your downloaded Apple Music songs under "Finished". You can now upload Apple Music to Google Drive or transfer them anywhere you like as real backup that will never expire.
FAQs About How to Backup Apple Music Library
Can I Backup Apple Music on Android?
Yes. If you are using an Android phone to listen to Apple Music songs, you can easily backup them by downloading Apple Music to SD card within the Apple Music app. But, it should be noted that these downloaded files in your SD card are also inaccessible cache.
Thus, it will be better that you use a tool like TuneFab Apple Music Converter to download Apple Music songs as common files first, then transfer them to your Android phone or tablet for more flexible storage and access.
Can I Backup My Old iTunes Music Library?
Yes, you can back up your old iTunes Music Library by exporting it as an XML file, which preserves metadata like titles, artists, and playlists. You can store this backup on an external drive or cloud storage, ensuring that your library can be easily restored or transferred to another device.
Can I Restore Apple Music Backup After Expiration?
No, you cannot restore your Apple Music backup after your subscription expires. Apple deletes iCloud backups after 180 days of inactivity, so your playlists and saved songs are no longer recoverable. Upon renewal, you'll need to recreate your playlists.
However, there's a slim chance of recovery. Contact Apple Music Support, as they may have backend access. If your data hasn't been fully deleted from Apple's servers, they might be able to restore it. While this isn't guaranteed, it's worth attempting.
Summary
Using the official Apple apps to back up Apple Music library comes with many limits, and you don't get the actual music files. In this case, TuneFab Apple Music Converter is your best solution. It provides fast bulk conversion speeds while preserving excellent sound quality. With everything you need at your fingertips, start converting your playlists and back them up permanently on your devices. Share this tip with friends and family so they can enjoy their Apple Music without restrictions!

TuneFab Apple Music Converter
One click to remove DRM from Apple Music without quality loss.
