


"I have a video clip made for my group, downloaded on my PC into a .m4v file, shown on RealPlayer (on my computer). I am not allowed to upload it onto YouTube. I don't know how to do this?"
As one of the most popular video sites, YouTube has been the main entertainment platform for people to share interesting homemade videos but for those videos that are protected by copyright are not opened to upload to YouTube. For example, if you try to upload iTunes videos to YouTube, you will fail. Because iTunes videos are formatted in M4V which is protected by Apple's FairPlay Digital Rights Management (DRM). Obviously, M4V videos are not accepted by YouTube unless you remove DRM. In order to share iTunes videos on YouTube, you need to convert M4V to the format that is acceptable by YouTube. Check out the post to figure out how to upload iTunes videos to YouTube.
Part 1. Know About YouTube Compatible Video Formats
When you upload videos to YouTube, you may receive a message like "invalid file format error message when you're uploading", what happens? It is the incompatible format that is not accepted by YouTube. Following is the list of format supported by YouTube. Checking out before uploading videos will save your efforts. Or you can assess the best format for YouTube video.
1. MOV: Apple's QuickTime container format.
2. MPEG-4 (MP4): The standardized container for MPEG-4.
3. AVI: A Windows' standard multimedia container.
4. WMV: A collection of Microsoft proprietary video.
5. MPEGPS: Commonly used by MPEG program stream format.
6. FLV: The format used to deliver MPEG video through Flash Player.
7. 3GPP: Usually used on mobile phones.
8. WebM: A standard format for HTML5 code.
We can see that M4V is not included in the above list. Therefore, the best choice is to convert M4V to MP4 with the help of a professional software.
Part 2. Convert M4V to MP4 Through Removing DRM
When it comes to the professional software, I would like to present TuneFab M4V Converter to you. It is the most useful M4V DRM removal that I've ever used. It kept all my videos' audios and subtitles after outputting MP4 files. When I'm ready to take long time to wait for the conversion completing, it surprised me because the conversion speed of the M4V converter is super-fast. To be honest, it is easy to use and below is the simple steps to operate.
Step 1. Install TuneFab M4V Converter on the Computer
Download the software and install it to the computer following the instructions. Then open it and iTunes will pop up automatically.
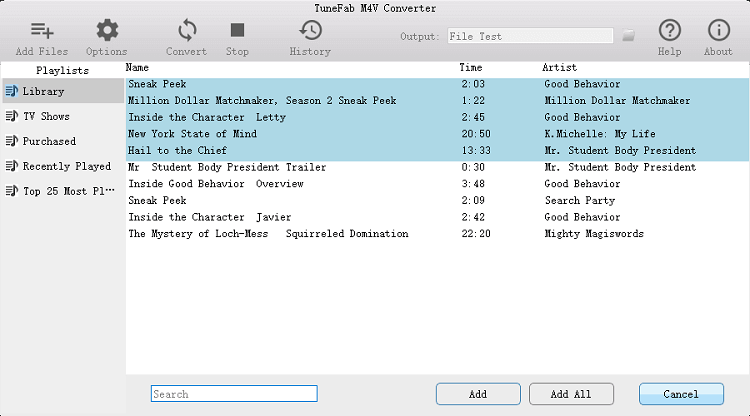
Step 2. Add iTunes Videos
This program can detect all your downloaded iTunes videos. Just click on the "Add Files" button, then select the videos which you want to upload to YouTube and click on "Add".
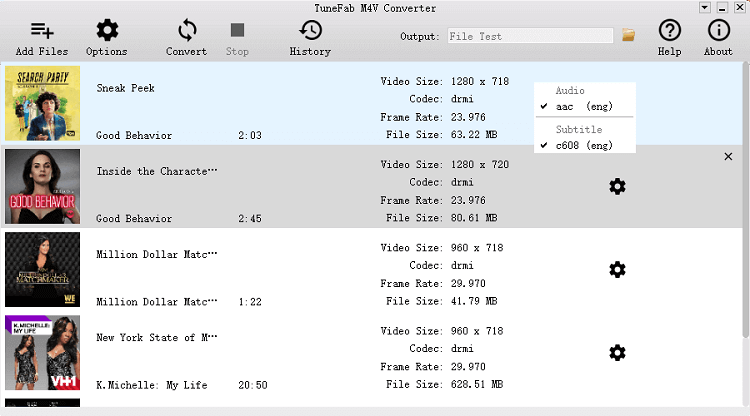
Step 3. Select Audio and Subtitle
Click on the gear icon on the video info list, choose the audio tracks and subtitles you want to preserve from the drop-down list or skip this step because the program will save all audios and subtitles by default.
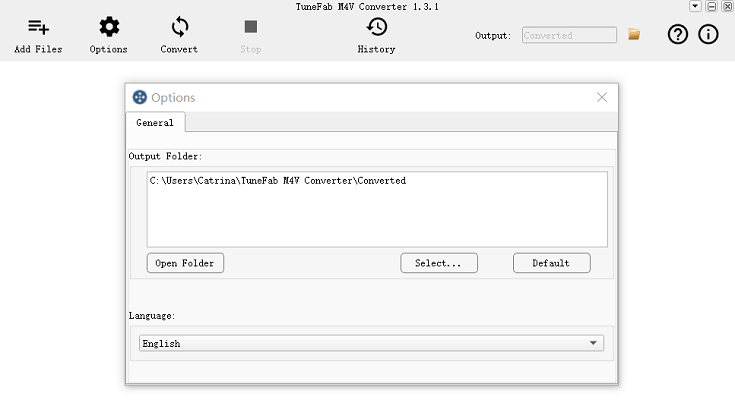
Step 4. Change the Destination Folder
Even though the program has its own path to save converted videos, but for your convenience to find the videos to upload, you'd better reset the output folder, just click "Options", and specify an output folder path.
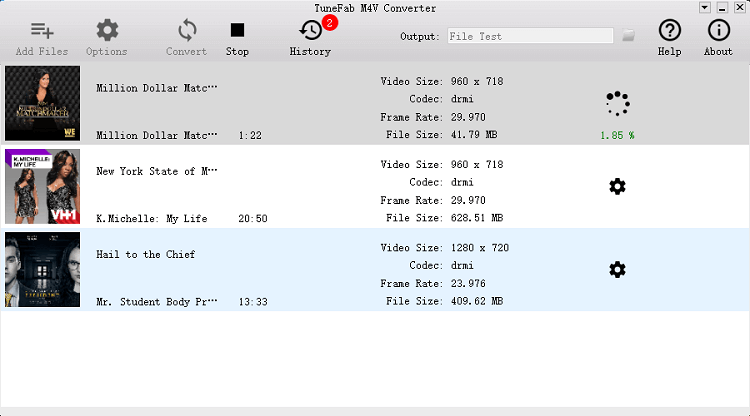
Step 5. Convert M4V to MP4
Start converting by pressing the button "Convert", then you can get DRM-free MP4 iTunes videos.
Since you've converted M4V to MP4 files, you can move to next part to learn how to upload videos to YouTube.
Part 3. Upload iTunes M4V to YouTube
1. Sign into your YouTube account.
2. Click on "Upload" at the top of the page.
3. You can select the video privacy settings before starting uploading the video.
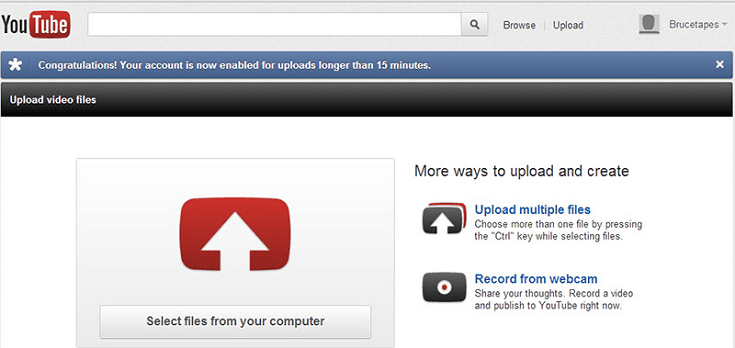
4. Select the video from your computer.
5. You can edit both the basic information and the advanced settings of the uploaded video, and decide if you want to notify subscribers (if you do not check this option, no communication will be shared with your subscribers). Partners will also be able to adjust their "Monetization" settings.
6. Click on "Publish" to finish uploading iTunes video to YouTube. If you set the video privacy setting to "Private" or "Unlisted", just click "Done" to finish the upload or click "Share" to privately share your video.
It requires an account and pays for $39.99 a month to provide you with a DVR option for recording shows and movies as well as on-demand movie and TV show streaming, just like you'd find with a cable subscription service.
7. If you haven't clicked on "Publish", your video won't be watched by other people. You are allowed to publish your video at a later time in your Video Manager.
Now that the method to upload iTunes videos to YouTube is clear, you can have a try and share to more people on YouTube.